

Welcome to the third article in the series of WordPress plugin development. We are excited that you are here. We would like to straightaway say that this is the most important tutorial in the entire series. This is because, as stated before, you can’t do almost anything without WordPress hooks. And we have seen many WordPress plugins and freelancers, who are using WordPress hooks in the wrong way. Hence, we would request you to pay special attention here and re-visit this article in case of any confusion. We will make sure to clearly explain WordPress hooks by the end of this article.
Topics at a glance
WordPress Hooks
So what are WordPress hooks? In simple words, hooks are a way for one piece of code to interact/modify another piece of code. For e.g., let’s say you have a website, which has a blue background color. Now, being a fan of black color, you want to change the background color to black. In the WordPress world, this can be done using hooks(Very soon we will show the examples of using hooks).
You might be thinking – why I need to use it and why I can’t change things directly? This is because, as explained in the Introduction of this series, WordPress can be primarily divided into Core, Plugins, and Themes. The core is maintained by the WordPress team and we are allowed to develop Plugins and Themes on top of the core. If you change the Core directly, your changes will be gone on the next WordPress update. Hence, if you want to add or change something in WordPress, always create a Plugin or Theme and add/modify the behavior using WordPress hooks.
Broadly, WordPress hooks can be divided into two types.
Actions
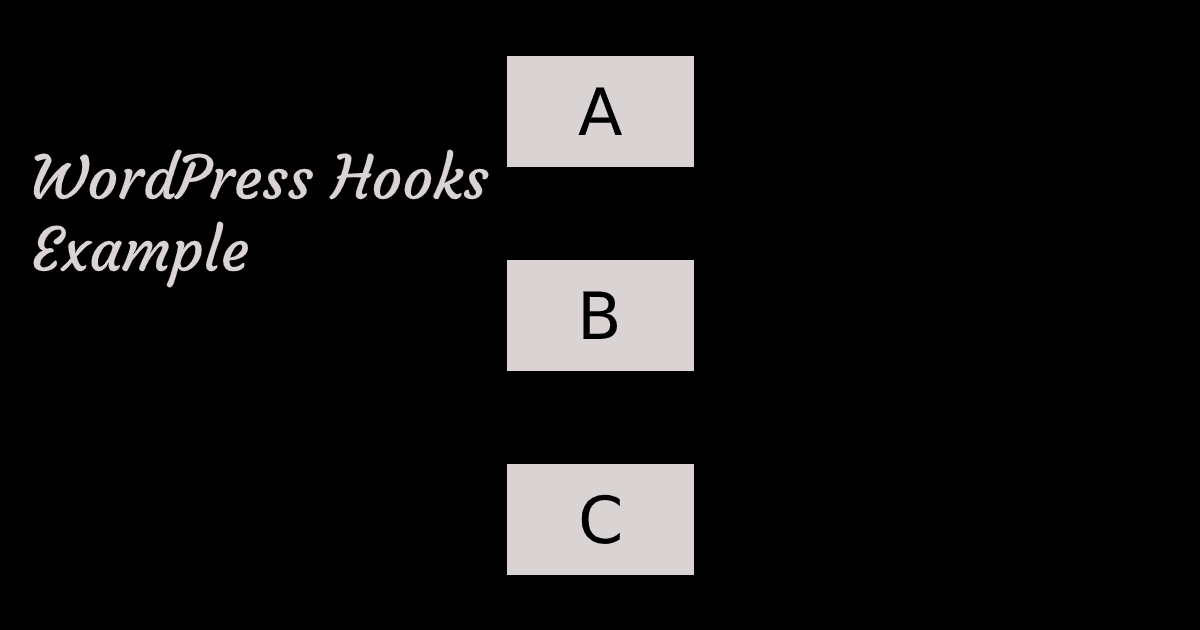
As per WordPress’s definition, WordPress actions allow you to add data or change how WordPress operates. Let’s understand this by an example. Assume that you have a WordPress plugin, which outputs the alphabets of the English language. For e.g. A, B, C…X, Y, Z, as of the below image.
Now, due to some reason, you want to change this sequence of output and want to add “D” between “A” & “B”, something like the image below.
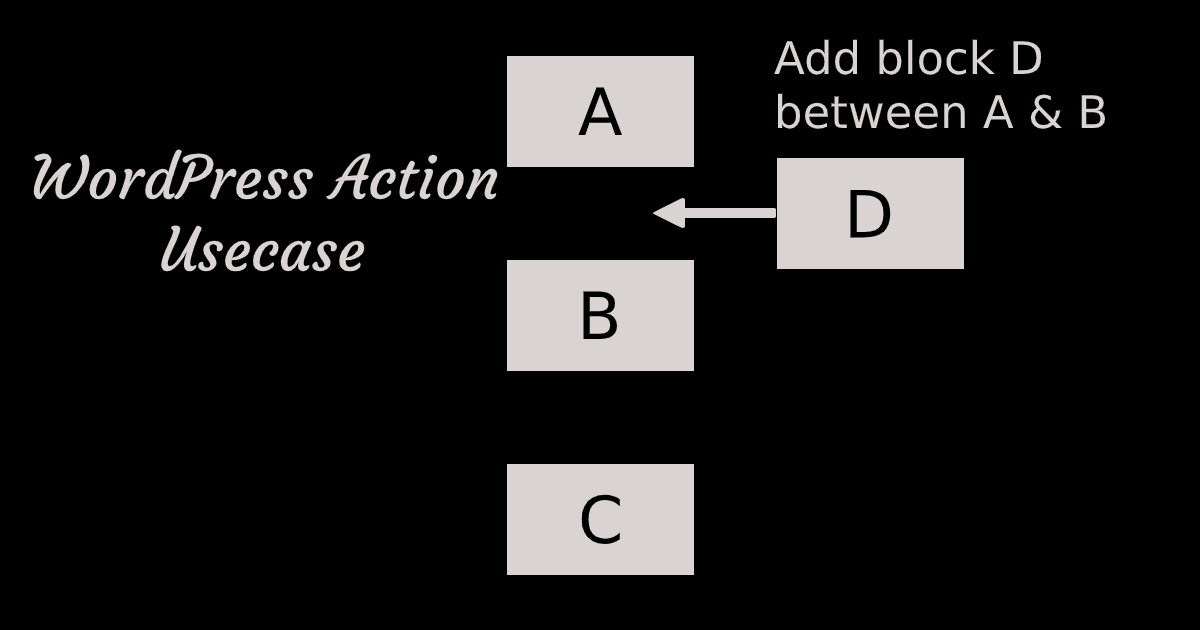
This can be achieved using WordPress action hook. In general, WordPress action hook can be viewed as a train bogie coupler. Similar to how coupler allows you to add bogie to the train engine, WordPress action hook allows you to add some code that will run at a specific point during execution and can do a very specific task, e.g. storing some data in the database or echoing some output to the screen.
How to use WordPress Action Hook
So now you know why we need WordPress Action, let’s focus on how to use it. For using WordPress Action, you need primarily 2 things – Callback function and call that callback function.
- Callback function
This is the piece of code, performing the required actions, which you intend to have at a particular point of WordPress execution. - Call the Callback function
So now you have the code ready, you need to ask WordPress to execute it during a specific point of WordPress execution. This can be done using add_action().
Example
Let’s say you want to display a message in the footer. You can do this using wp_footer action.
function my_function() {
    echo 'This is footer information';
}
add_action( 'wp_footer', 'my_function' );
Additional Parameters
The add_action() WordPress function accepts 2 additional parameters, in addition to what we covered above.
- Priority
Decides the priority in which the callback function gets executed. Lower numbers correspond to earlier execution and functions with the same priority get executed in the order in which they are added using add_action.
Default Value: 10 - Additional Arguments
This is required when your WordPress action provides additional parameters.
Default Value: 1
Examples
When WordPress saves a post, it runs the save_post hook, it passes two parameters to the callback function: the ID of the post getting saved, and the post object itself. Refer to the sample code below to understand how you can prioritize as well as decide which arguments will be passed to the callback function.
function callback_1($post_id, $post) {
    // Write your code here
}

function callback_2($post_id) {
    // Write your code here
}

// Normal execution, callback will recieve 2 parameters
add_action('save_post', 'callback_1', 10, 2);
// Early execution, callback will recieve 2 parameters
add_action('save_post', 'callback_1', 5, 2);
// Delayed execution, callback will recieve 2 parameters
add_action('save_post', 'callback_1', 15, 2);
// Normal execution, callback will recieve 1 parameters
add_action('save_post', 'callback_2');
// Early execution, callback will recieve 1 parameters
add_action('save_post', 'callback_2', 5);
// Delayed execution, callback will recieve 1 parameters
add_action('save_post', 'callback_2', 15);
// add_action allows 2 parameter, but function absorbs only one
add_action('save_post', 'callback_2', 10, 2);
// Error - callback trying to access 2 parameters
// but only one allowed by add_action
add_action('save_post', 'callback_1');
Custom Actions
So now, you know how to use existing hooks – you should have a question of how can I define a new WordPress hook, similar to save_post, so someone can extend my code in a similar way as I did. This is where creating custom actions comes in picture.
To create a WordPress action, you need to use do_action() WordPress function. The do_action() function provides 2 arguments.
- action_name
This is the name that other developers will use to add their call back function, similar to how we used save_post action. - arguments
In the case of save_post action, we used $postID and $post arguments to hook into the post data. Similar to that, when we create a new WordPress Action hook, we can also pass the arguments that can be used by developers to hook into our code.
Complete Example
Now, as we had learned both, using a WordPress action and creating a new WordPress action, let’s work on our example and see how we can achieve it. Below is the sample code for outputting A, B & C.
echo "<div>A</div>";
echo "<div>B</div>";
echo "<div>C</div>";
Now, in order to allow your plugin user to output “D” after “A”, you need to add a do_action() after “A”. Refer sample code below.
echo "<div>A</div>";
do_action('my_action_after_A');
echo "<div>B</div>";
echo "<div>C</div>";
Once do_action() is defined, you can use it in your plugin to add “D”. Refer sample code below.
function output_d_func() {
    echo "<div>D</div>";
}
add_action('my_action_after_A', 'output_d_func');
Filters
According to WordPress’s definition, WordPress filters provide a way for functions to modify data of other functions. Let’s understand this by example. In our previous example, let’s assume that we want to change the output “B” to “E”, as of the image below image.
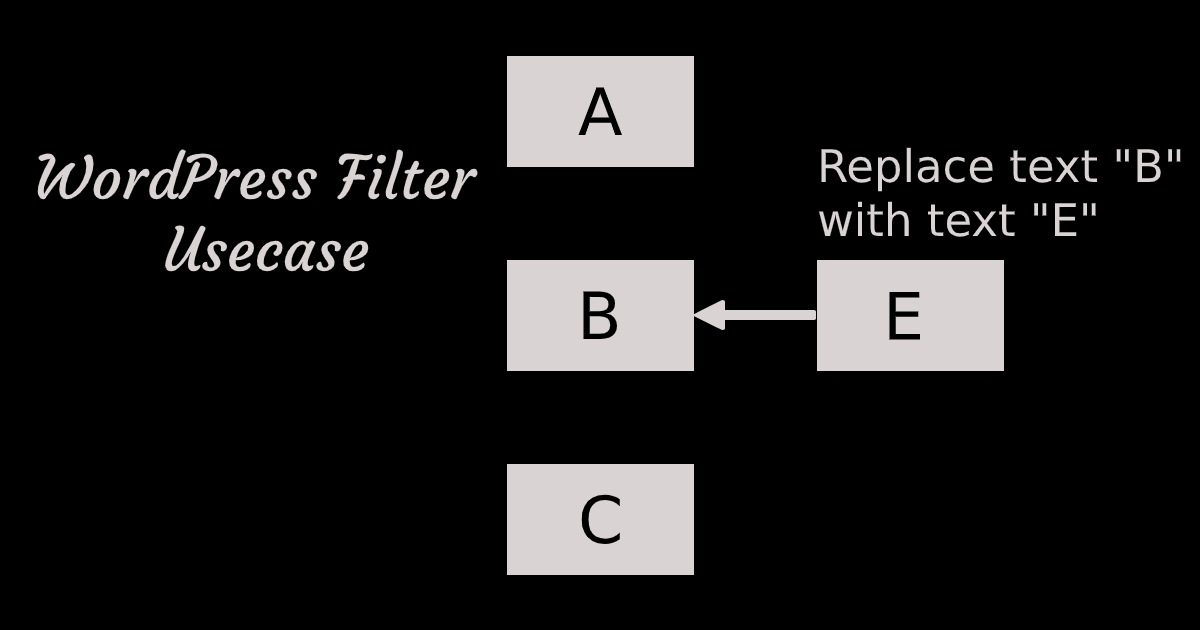
This can be achieved using the WordPress filter. In general, the WordPress filter hook can be imagined as a way to modify the output.
How to use WordPress Filter hook
So now we know why to let’s focus on how to use it. For using WordPress Filter, you need primarily 3 things – Callback function, call that callback function and the data which needs to modified, “B” in our case.
- Callback function
This is the piece of code that performs the required data modifications, which you intend to have before the output. - Call the Callback function
The name of the WordPress filter to hook the callback function. - Data to be modified
This is the data passed by the WordPress filter, will be covered shortly.
Complete Example
Let’s say you want to add a “Title” before any WordPress post title. You can achieve that by using the following code.
function my_function($title)
{
    return 'Title - ' . $title;
}
add_filter('the_title', 'my_function');
Additional Parameters
In addition to the tag_name and callback_function, add_filter() function accepts two more argument.
- Priority
Decides the priority in which the callback function gets executed. Lower numbers correspond to earlier execution and functions with the same priority get executed in the order in which they are added using add_filter.
Default Value: 10 - Additional Arguments
This is required when your WordPress filter provides additional parameters. Even though you can opt for 0 arguments, most of the time you will have at least one argument while using WordPress filter hook.
Default Value: 1
Examples
All the examples shown in the WordPress Action section are valid for WordPress filters.
Custom Filters
Having known how to use WordPress filter hooks, let’s focus on how can we create a custom WordPress filter. To create a custom WordPress filter, you can use apply_filters() WordPress function. The function accepts 2 arguments as below.
- filter_name
This is the name that other developers will use to add their call back function, similar to how we used the the_title filter. - arguments
In the case of the_title filter, we used a $title argument to modify the title. Similar to that, when we create a new WordPress Filter hook, we can also pass the arguments that can be used by developers to hook into our code.
Example
Now, as we had learned both, using a WordPress filter and creating a new WordPress filter, let’s work on our example and see how we can replace “B” with “E”. Below is the code after from our WordPress Action example.
echo "<div>A</div>";
do_action('my_action_after_A');
echo "<div>B</div>";
echo "<div>C</div>";
Now to change “B”, we will wrap it using apply_filters(). Refer sample code below.
echo "<div>A</div>";
do_action('my_action_after_A');
echo apply_filters('my_filter_modify_B', "<div>B</div>");
echo "<div>C</div>";
Now, you can use this hook to modify “B” from another plugin, as below.
function output_e_func($text) {
    return "<div>E</div>";
}
apply_filters('my_filter_modify_B', 'output_e_func');
Removing Hooks
Sometimes you might need to remove the callback function from a hook, most probably added by other plugins/themes and sometimes even by WordPress core. To remove a callback function from a hook, you need to use remove_action() or remove_filter(), depending on whether the callback function was added as an Action or a Filter.
The parameters passed to remove_action() / remove_filter(), should be identical to the parameters passed to add_action() / add_filter() that registered it. To understand this, let’s take our example where we added: “D” between “A” and “B”. Now, assume that we want to remove it and, unfortunately, we can’t remove the add_action().
In that case, we can use remove_action() to achieve this. Since this is something related to output or rendering something on the screen, our best chance will be using wp_head hook. Refer to the sample code below.
function remove_my_hook() {
	remove_action('my_action_after_A', 'my_function_after_A');
}

add_action('wp_head', 'remove_my_hook');
This is all for WordPress hooks (WordPress Actions and WordPress Filters). In the next article, we will start creating custom post types and add them to our sample plugin. Until then HAPPY CODING!!!